School Setup
Open Library > School settings after staff login (/settings/). These
settings apply to the school. Personal appearance and password settings live in
your name menu under My Account.
The Library menu groups Overview, Catalog, Borrowers, and Overdue, with School settings separated below. To catalog a book from a photo, open Catalog > Add from photo.
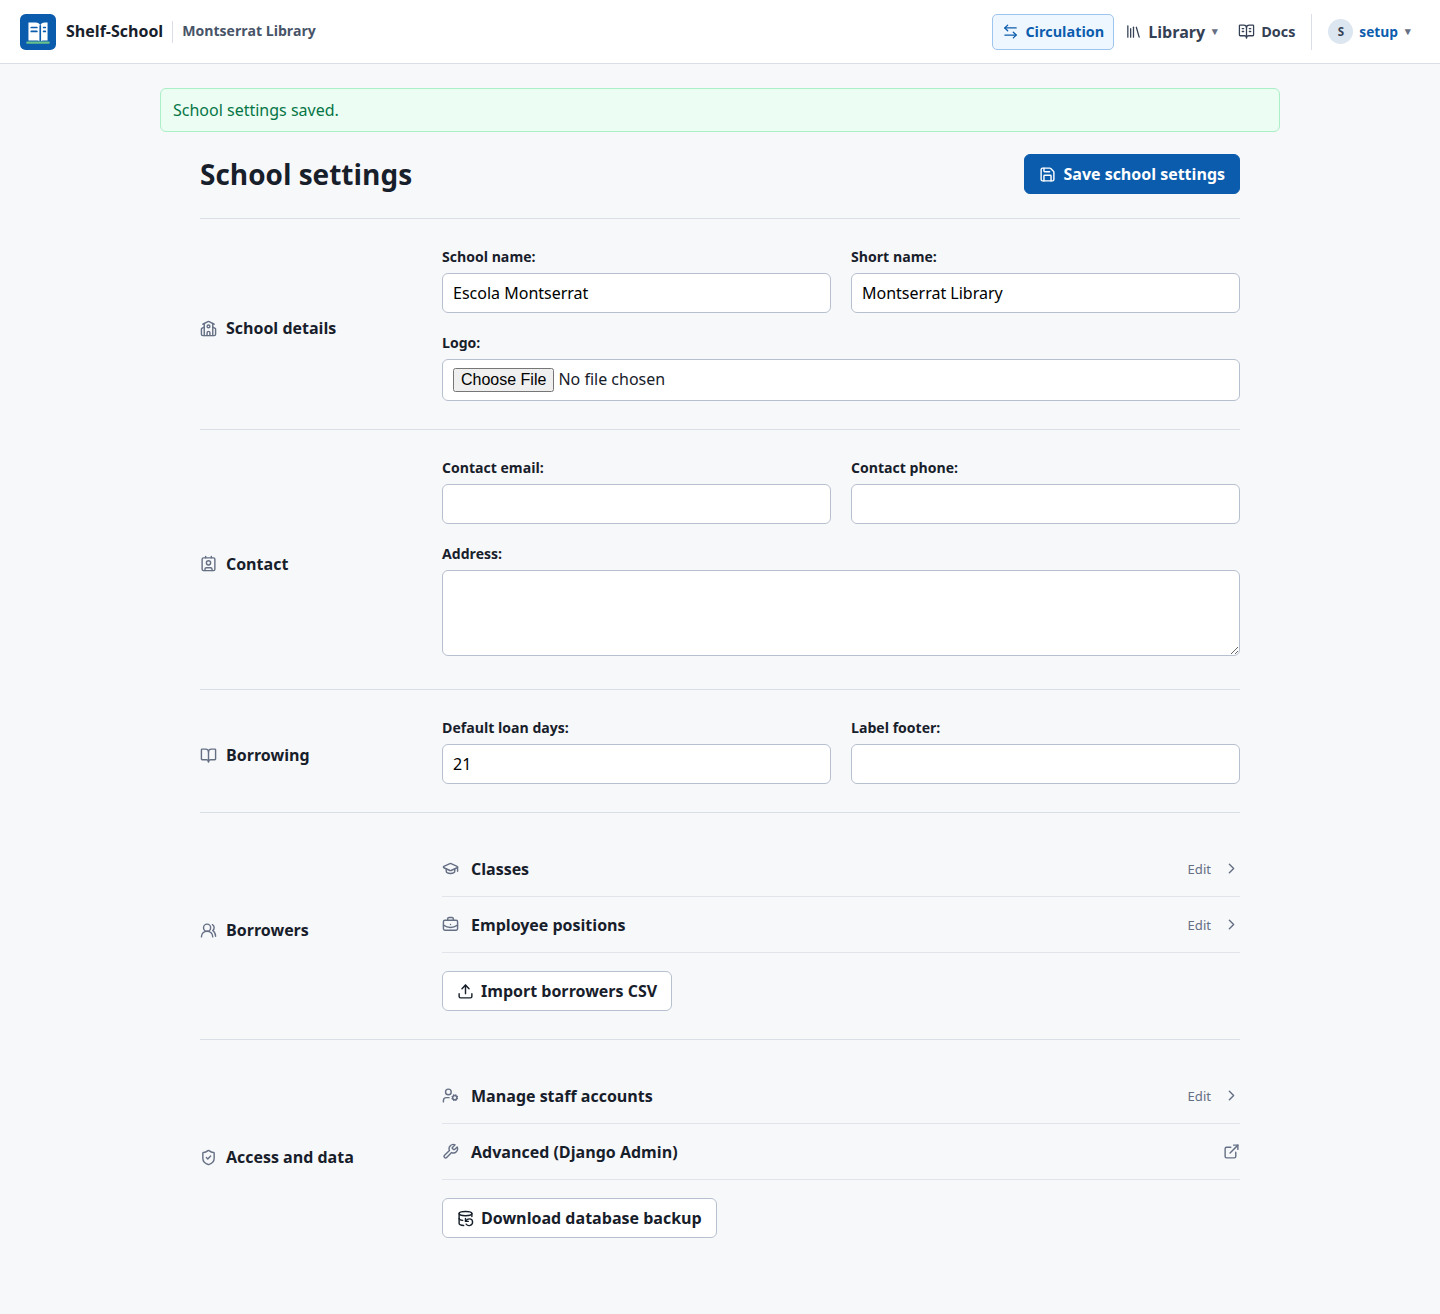
The page groups school details, contact information, and borrowing defaults. Use Save school settings at the top to apply form changes.
Configure:
- School name and short display name.
- School logo.
- Address, email, and telephone details.
- Default loan duration in days.
- Footer printed on copy and borrower labels.
The current design supports one school per installation. Separate schools should run separate Shelf-School installations and databases.
Staff accounts and borrowers
Staff accounts belong to people who sign in and operate Shelf-School. Borrower profiles represent students or employees who receive books. Borrowers do not log in and do not need passwords.
Creating a staff account automatically creates its borrower profile. If a borrower with the same identifier already exists, Shelf-School links that record instead so its loans and history remain intact. The Borrower ID, name, and email match the staff account; passwords remain private to staff login and circulation data remains on the borrower profile.
Staff is library administrator access, not the person's school role. School roles are Employee / Student. A student can have Staff access and an employee can borrow without credentials.
One staff administrator is enough for a local deployment. When several people maintain the library, a system administrator can open Library > School settings > Manage staff accounts to create their Shelf-School logins. Advanced (Django Admin) is the underlying technical interface and is not needed for normal library work.
See Staff Accounts for account creation, password reset, and role details.
Borrower configuration
Under Borrowers in Settings, Classes and Employee positions are Edit links to their configuration pages. Add, rename, or deactivate entries there; only unused entries can be deleted. Changes on those pages save independently of the school-details form.
Everyone is added through Borrowers > Add borrower, choosing Student or Employee. Students get an optional class; employees get an optional position. Assigned classes and positions appear as badges on borrower profiles.
Import borrowers CSV accepts both roles in one file. Set School role to Employee for employee rows; new rows default to Student if it is omitted. Create the class and position names in Settings before importing. See Borrowers for the CSV columns and examples.
Under Access and data, database downloads remain manual. System administrators also see Staff account management and Advanced (Django Admin).
First operational check
Before opening the kiosk to students:
- Add a test borrower.
- Catalog a book and print its physical copy QR label.
- Sign out of the staff account.
- Check out and return the book from
/. - Sign back in and verify the loan history.